Believe me when I say that I am useless at crafts.
I like to think I am good and can do these fancy homemade things, I have a whole Pinterest board dedicated to things I want to try to make and I drive Mr C mad hoarding all my recycling! I mean, you never know when an old coffee jar is going to come in handy and I am running out of places to store empty toilet roll tubes!
I have great ideas too, if I do say so myself, but practically I’m shit. Stuff never turns out how I picture them in my brain.
I recently signed up to take part in a lovely project with Tinuke over at Circus Mums called You’ve Got Mail. I decided that for the item I would send I would try my hand at something crafty.
I wanted to send something that reflected what I had read on my partners blog. Inspired by her beautifully written poems. I went on the search for something pretty, suitable, yet doable on my favourite, aforementioned place, Pinterest.
I found these fantastic wall art quotes by two craft bloggers A Beautiful Mess and Southern Belle Soul. Even better the instructions made it look really simple, it was exactly the type of thing I was looking for and I had wanted an excuse to buy some modge podge for ages!
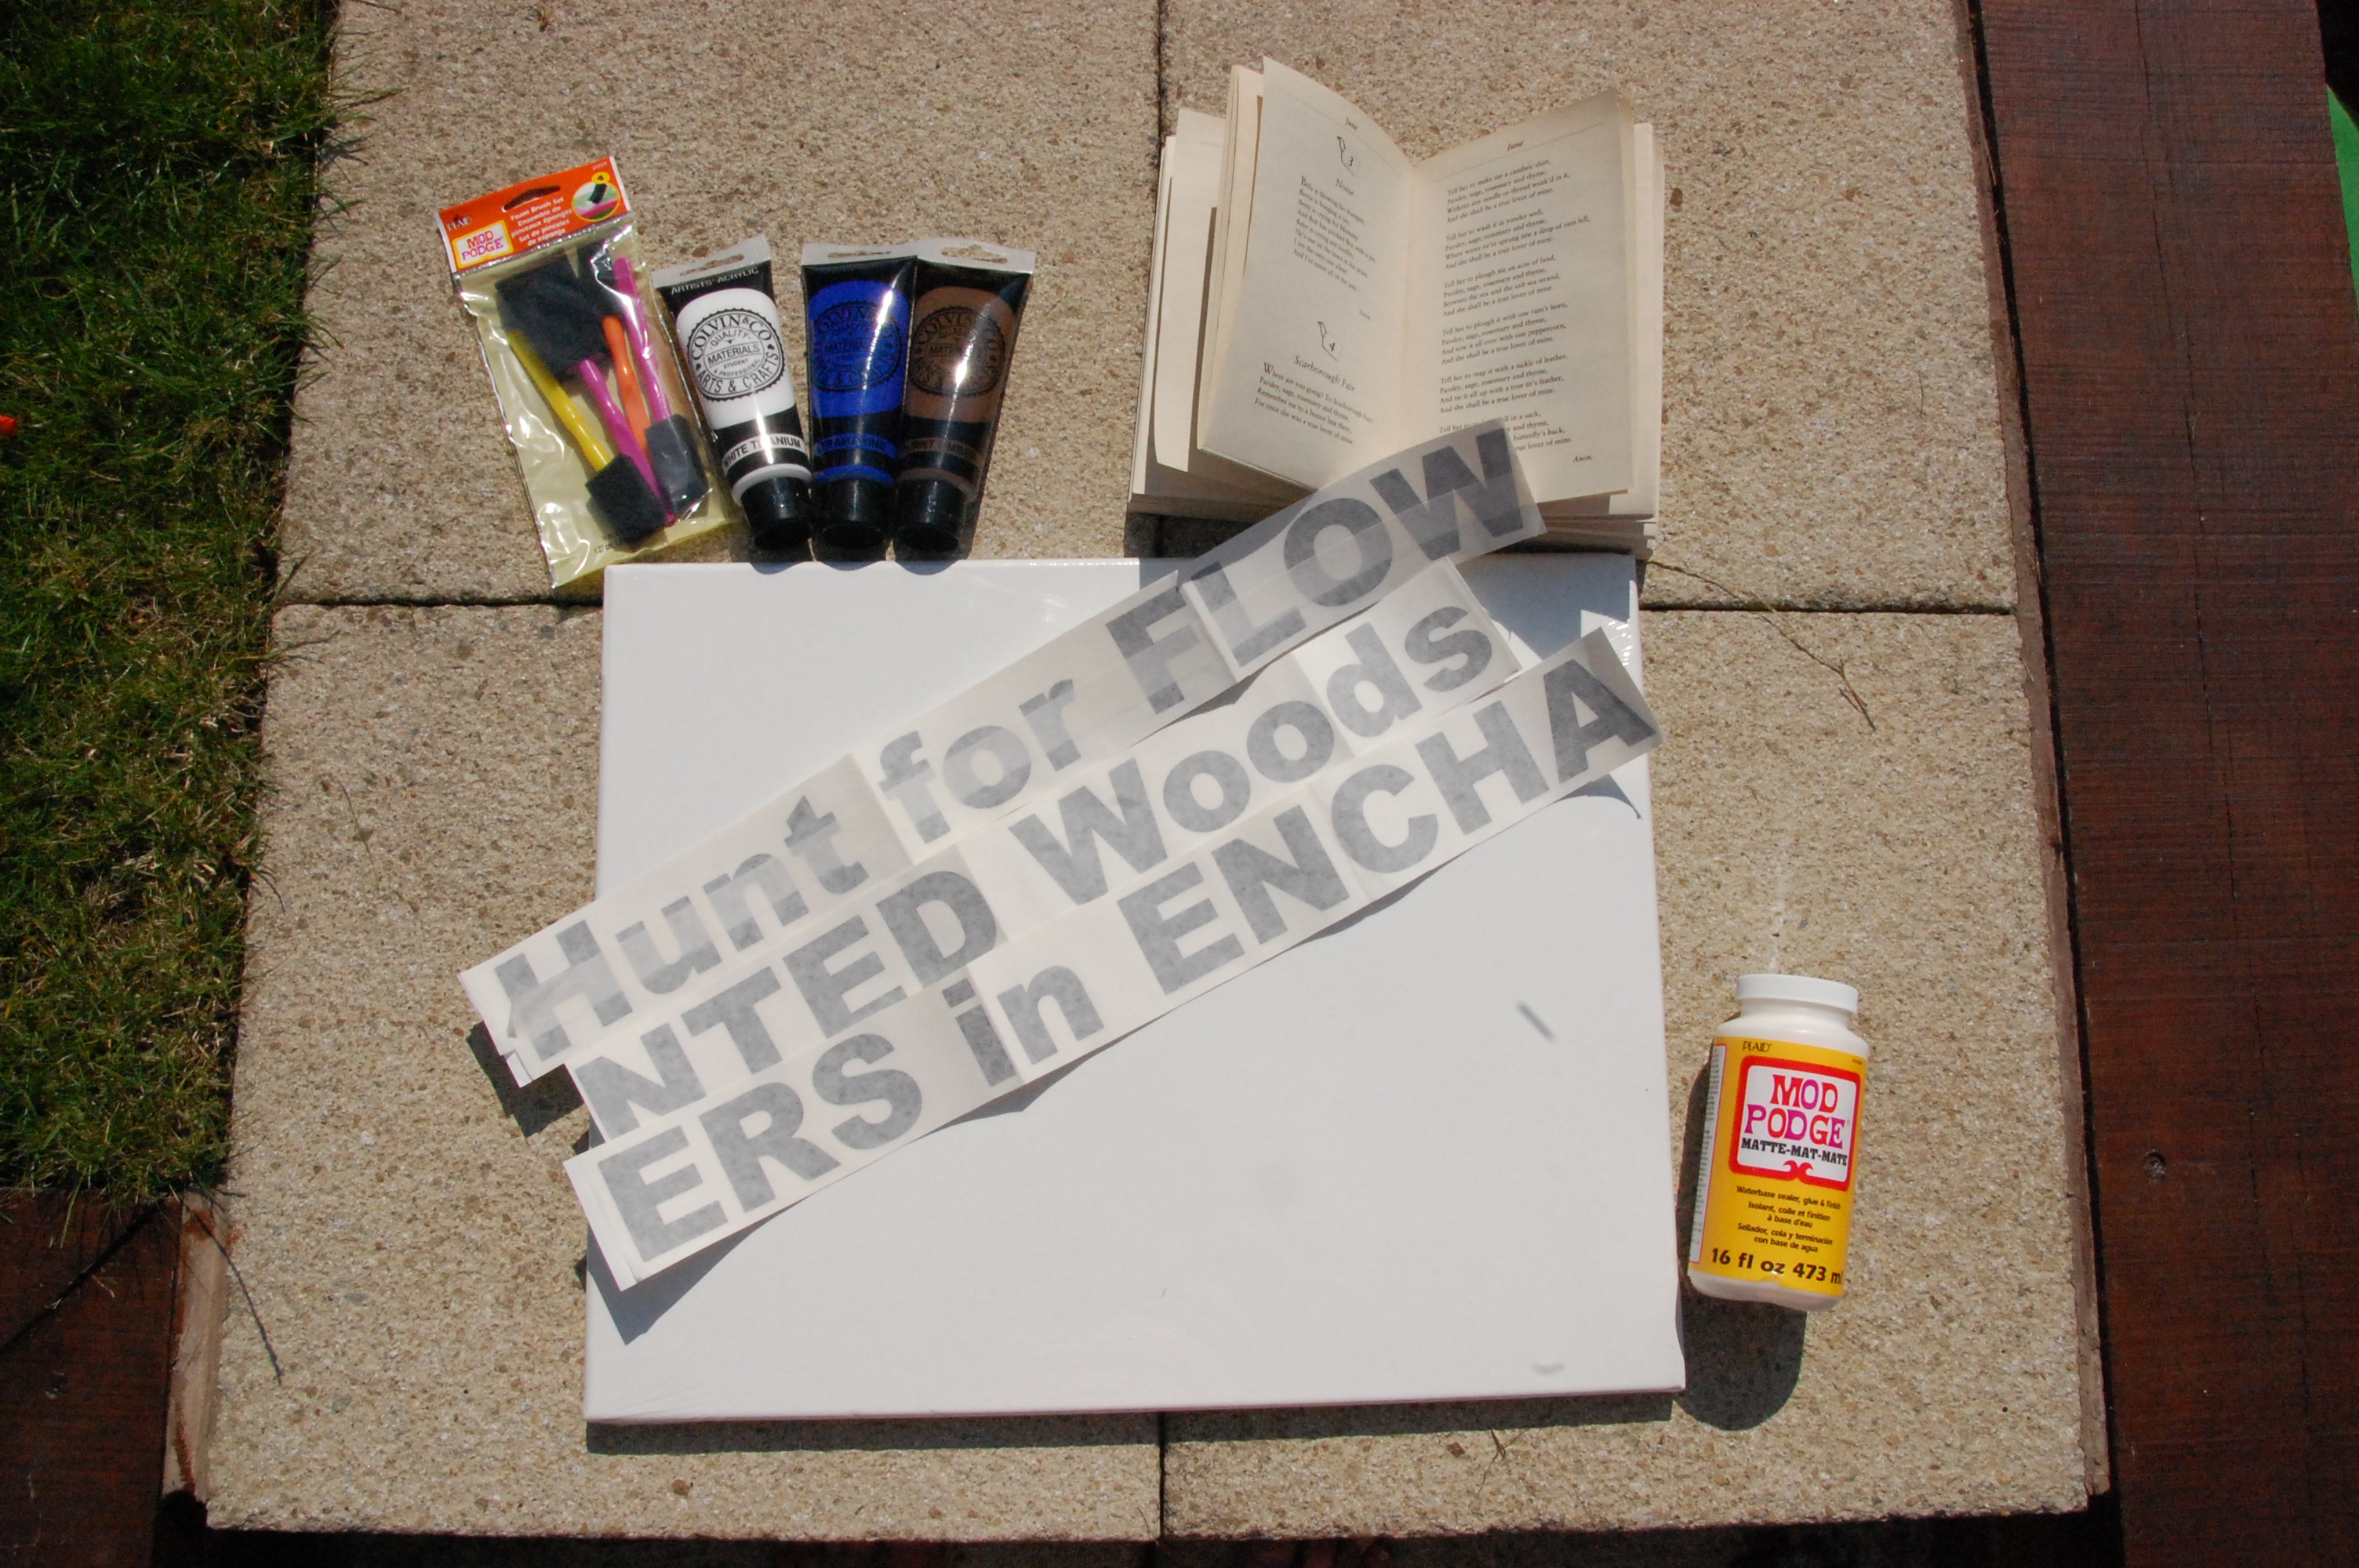
For this project you will need:
* Canvas – I got mine from Home and Bargains for £1.99. In the beautiful mess tutorial she used an old picture from a charity shop.
* Modge Podge – from amazon, I can now take over the crafting world!
* Paint Brush – found one hanging around from my Uni days (one of my modules was set design)
* Acrylic Paint – also from Home and Bargains, 99p a tube, although there are loads of places you can buy these.
* Vinyl Self Adhesive Letters – you can buy packs of these on amazon and in craft shops, however I had chosen a quote from a poem written by my project blog partner and it was working out quite expensive as I would need to buy more than one pack for all the letters I needed. Instead I bought pre cut and spaced lettering from ebay. There are a few sellers that offer this and you pay by letter, the size of the lettering determines the total cost. This way you also have the option of different font and colour (although you only need black for this project) It worked out much cheaper and easier this way as the letters were already spaced out.
* I also got a poetry book from a second hand book shop, you could also use magazines or wallpaper and modge podge foam brushes (also amazon), because I like to have all the gear, even if I have no idea.
Step 1
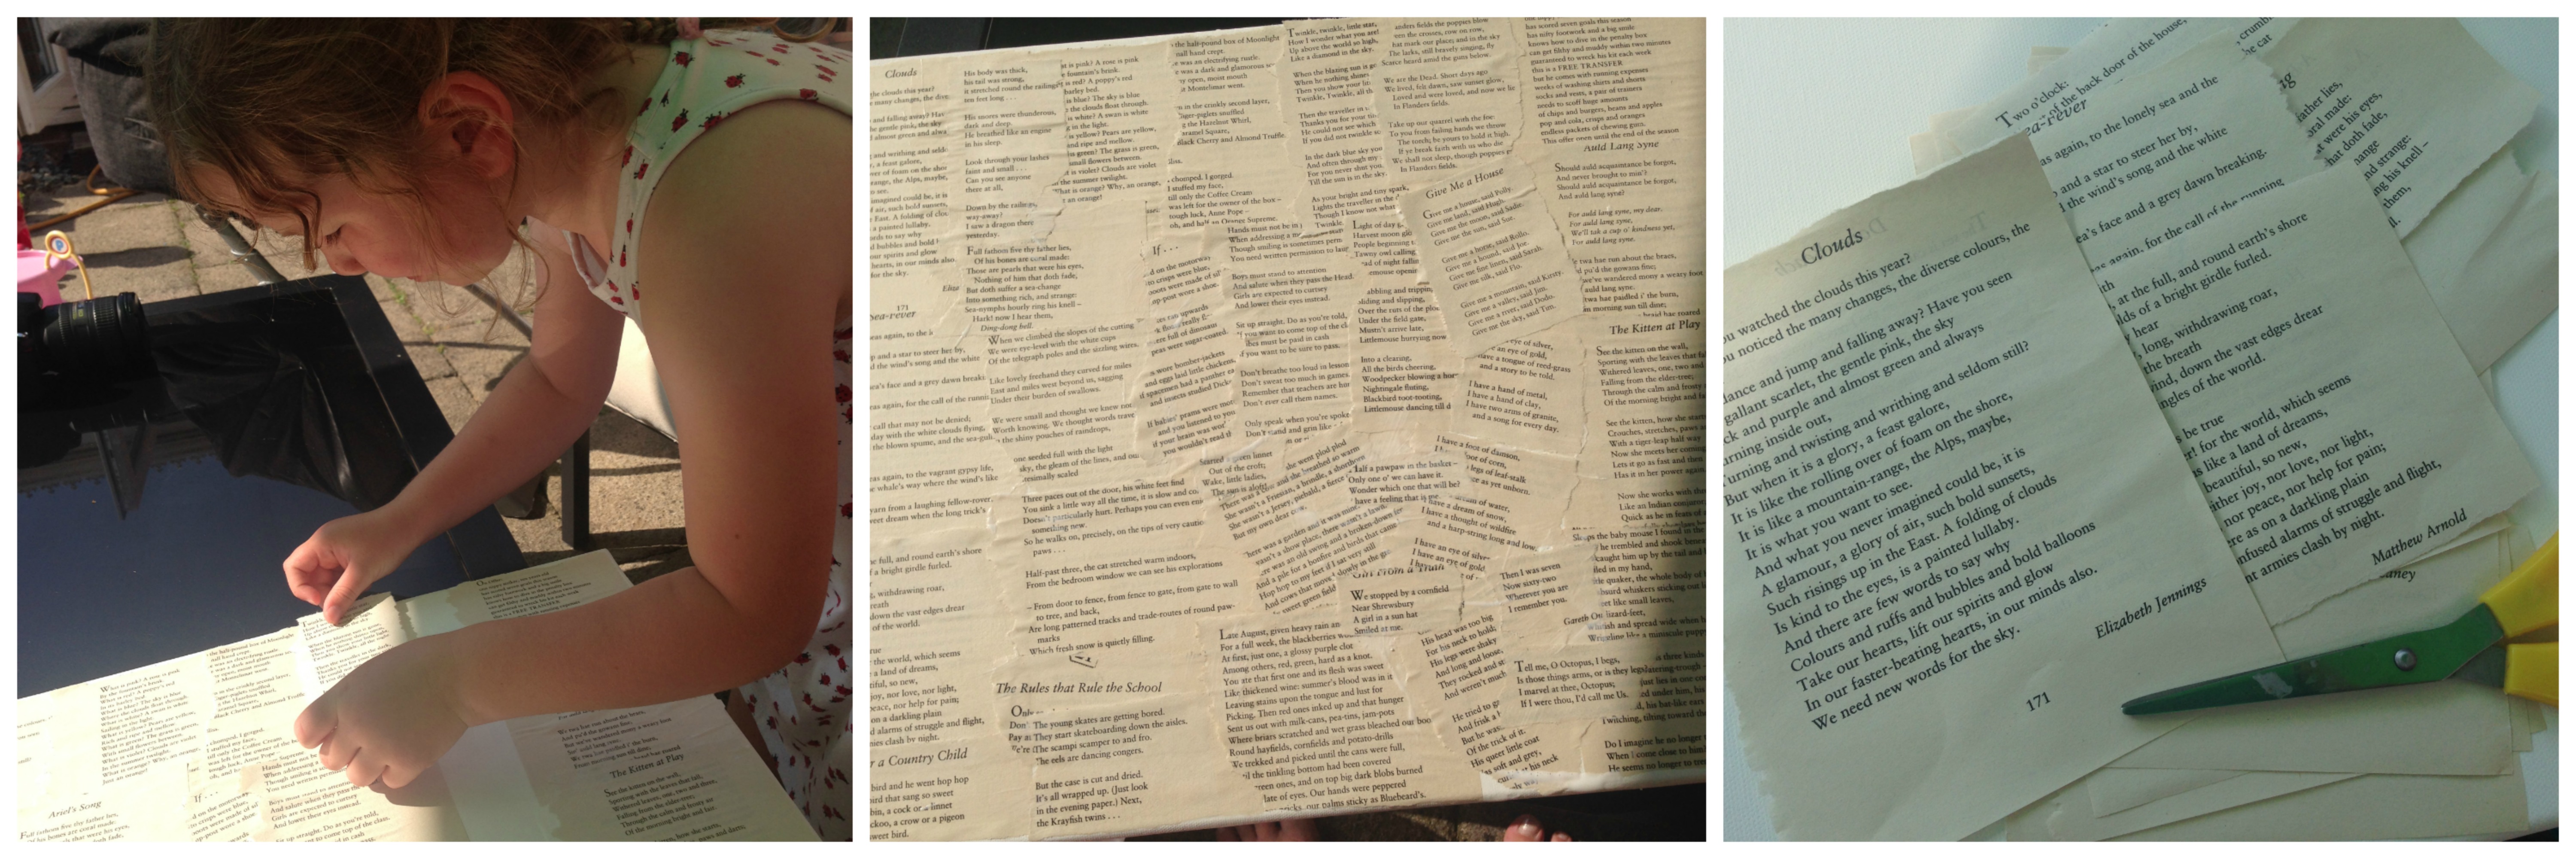
I tore our different pages and quotes from the poetry book and modge podged them onto the canvas. The munchkin couldn’t help but get involved and it is something you can do with children with supervision. I overlapped the pages at different angles to give the canvas base some texture.
Step 2
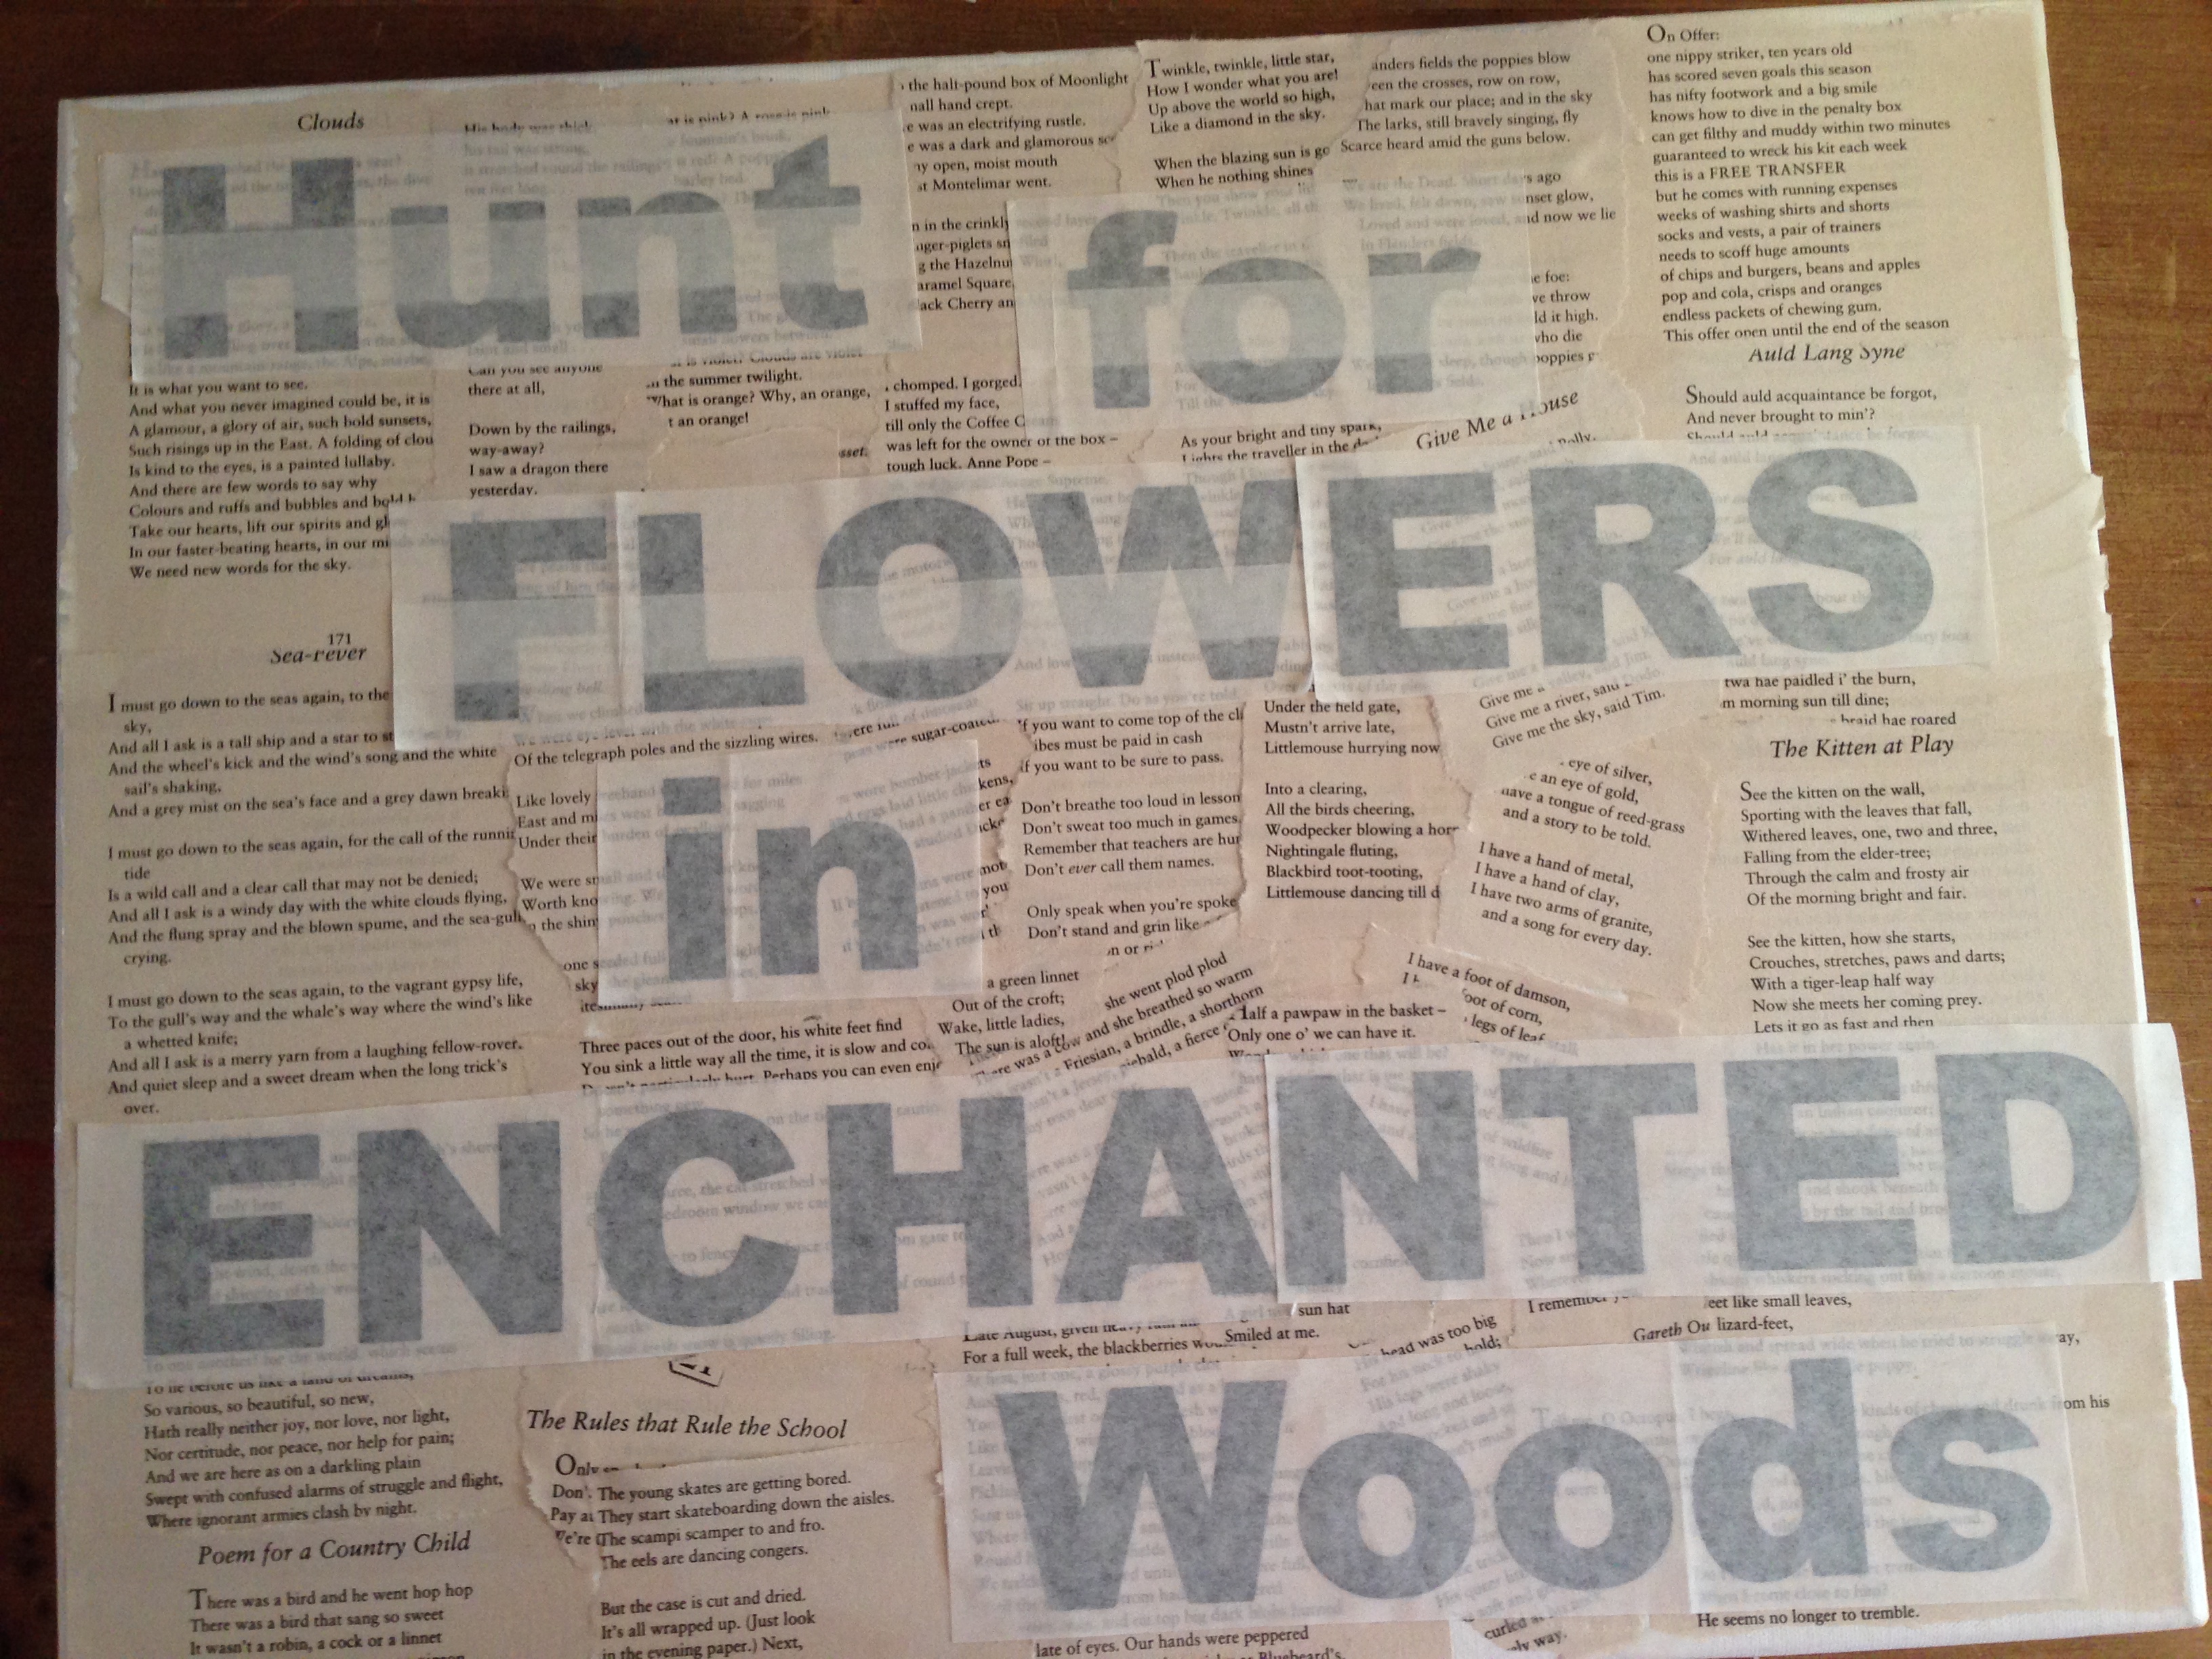
Once the glue on the base was dry, I spaced out and stuck down the vinyl lettering, making sure the edges were pressed down so paint didn’t escape underneath. The pre cut letters are really easy to use.
Step 3
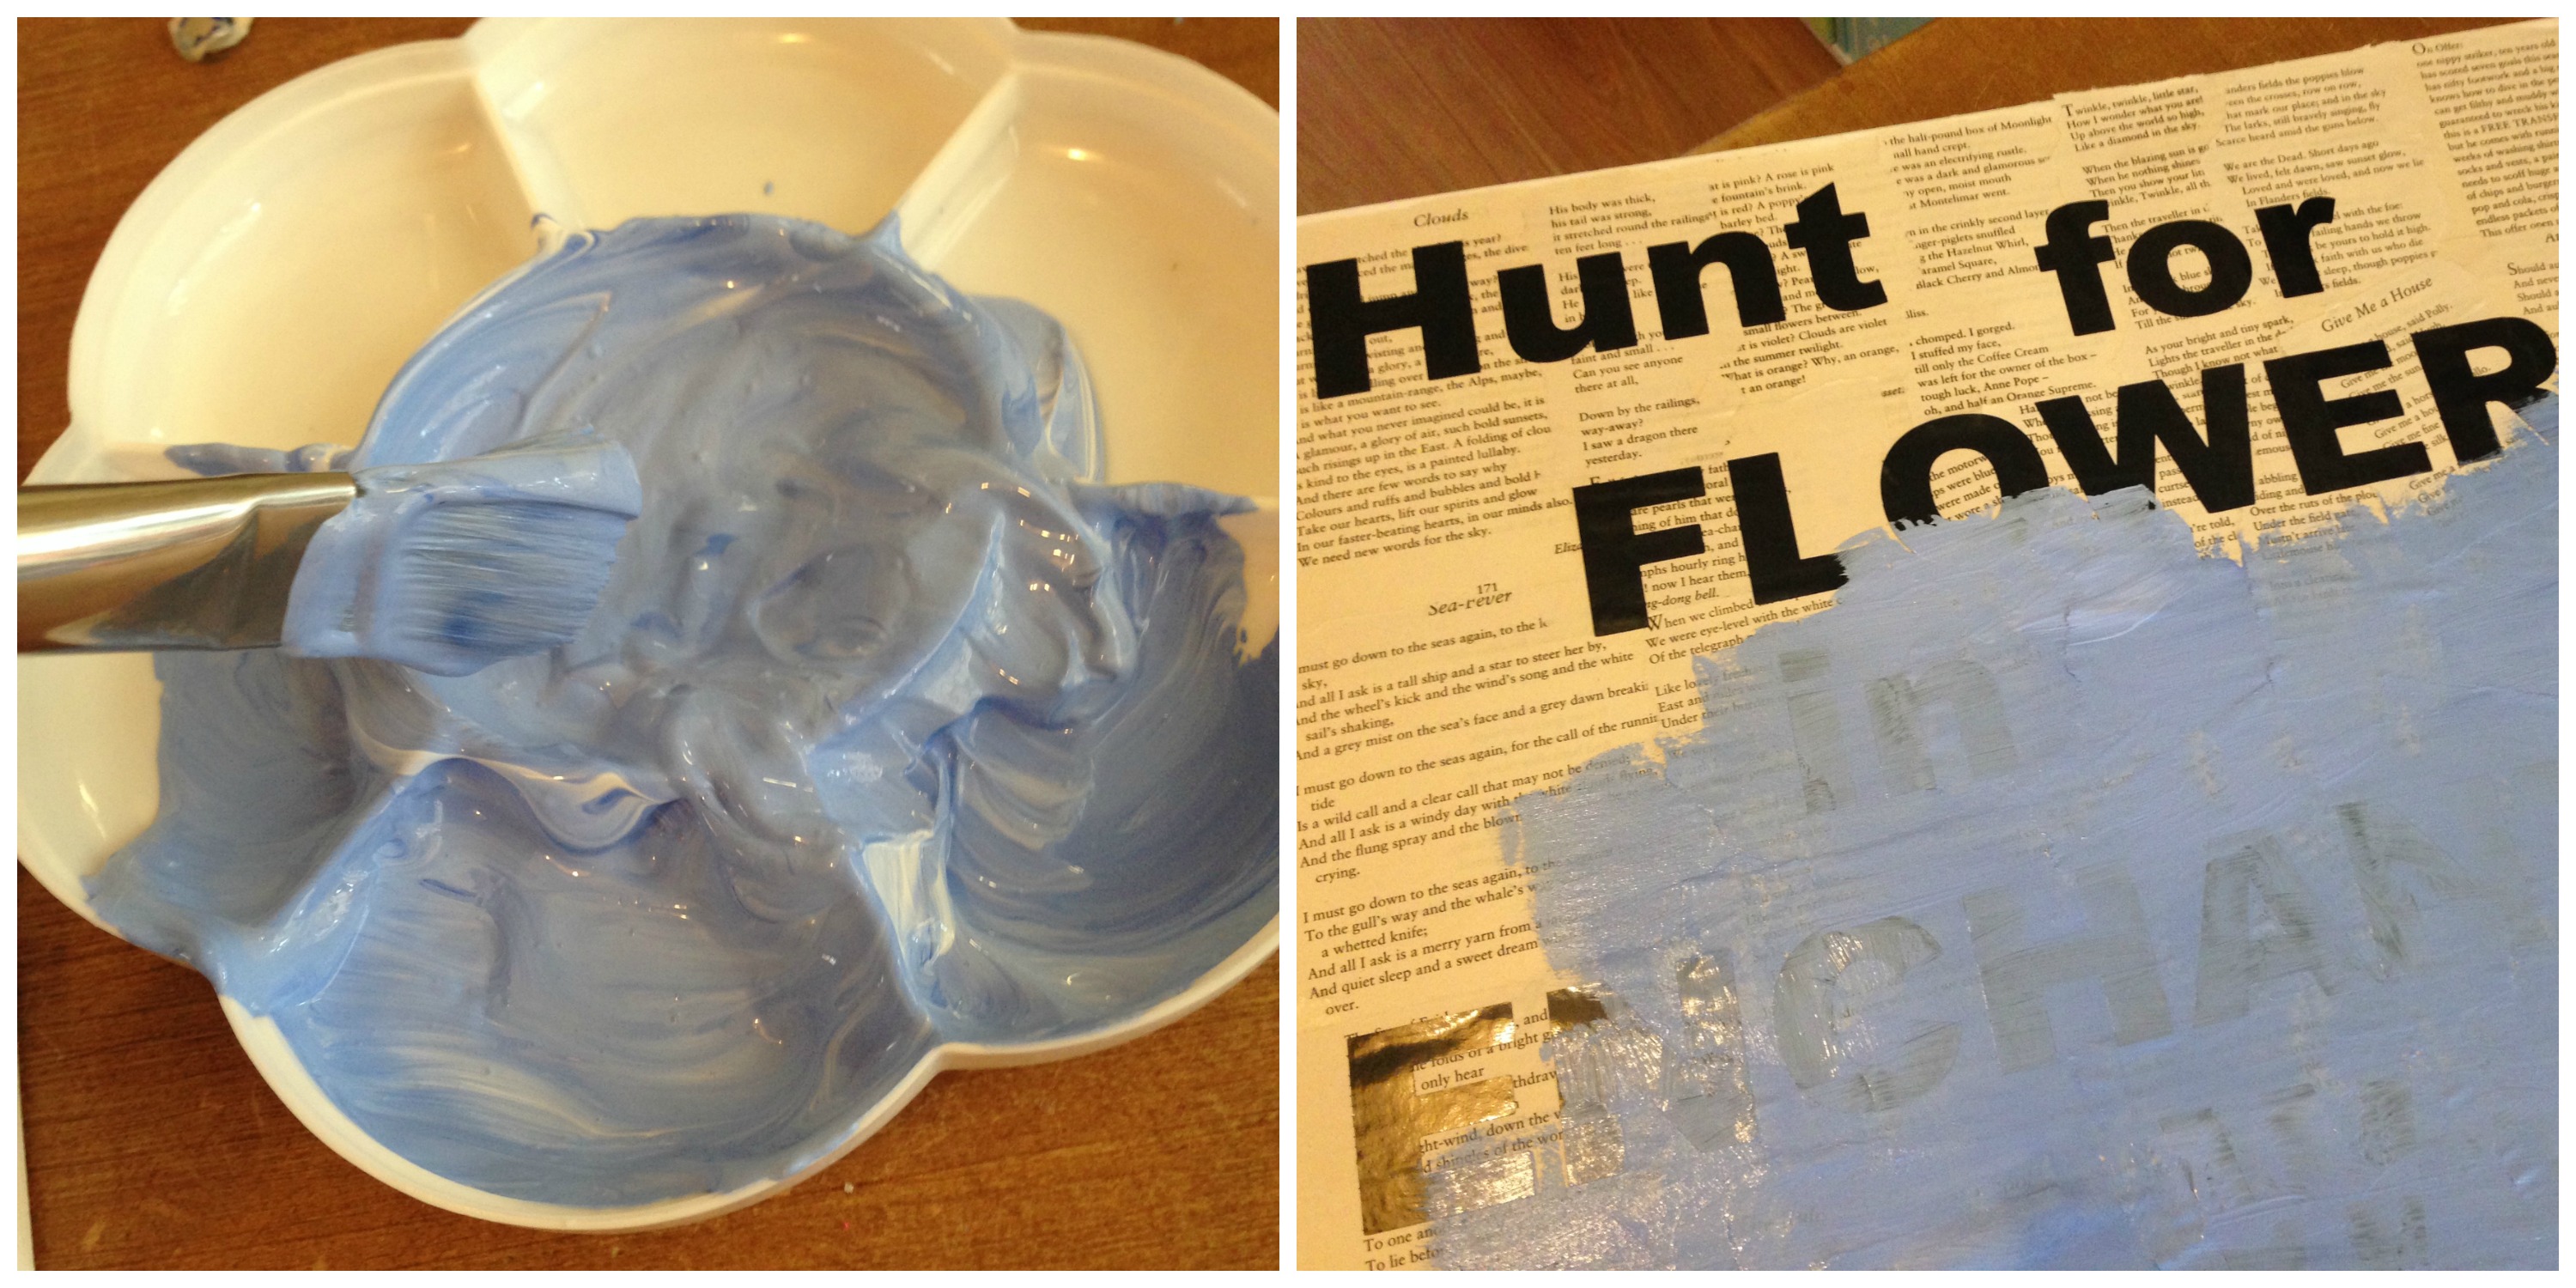
Now it’s time to paint over the whole canvas. I had to mix the colour to get the shade of blue I wanted, I didn’t mix it properly as I wanted there to be imperfections in the blue as I was inspired by a photograph of the ocean. I also didn’t want a block coverage as I wanted the pages underneath to show through so only gave the canvas one coat.
Step 4
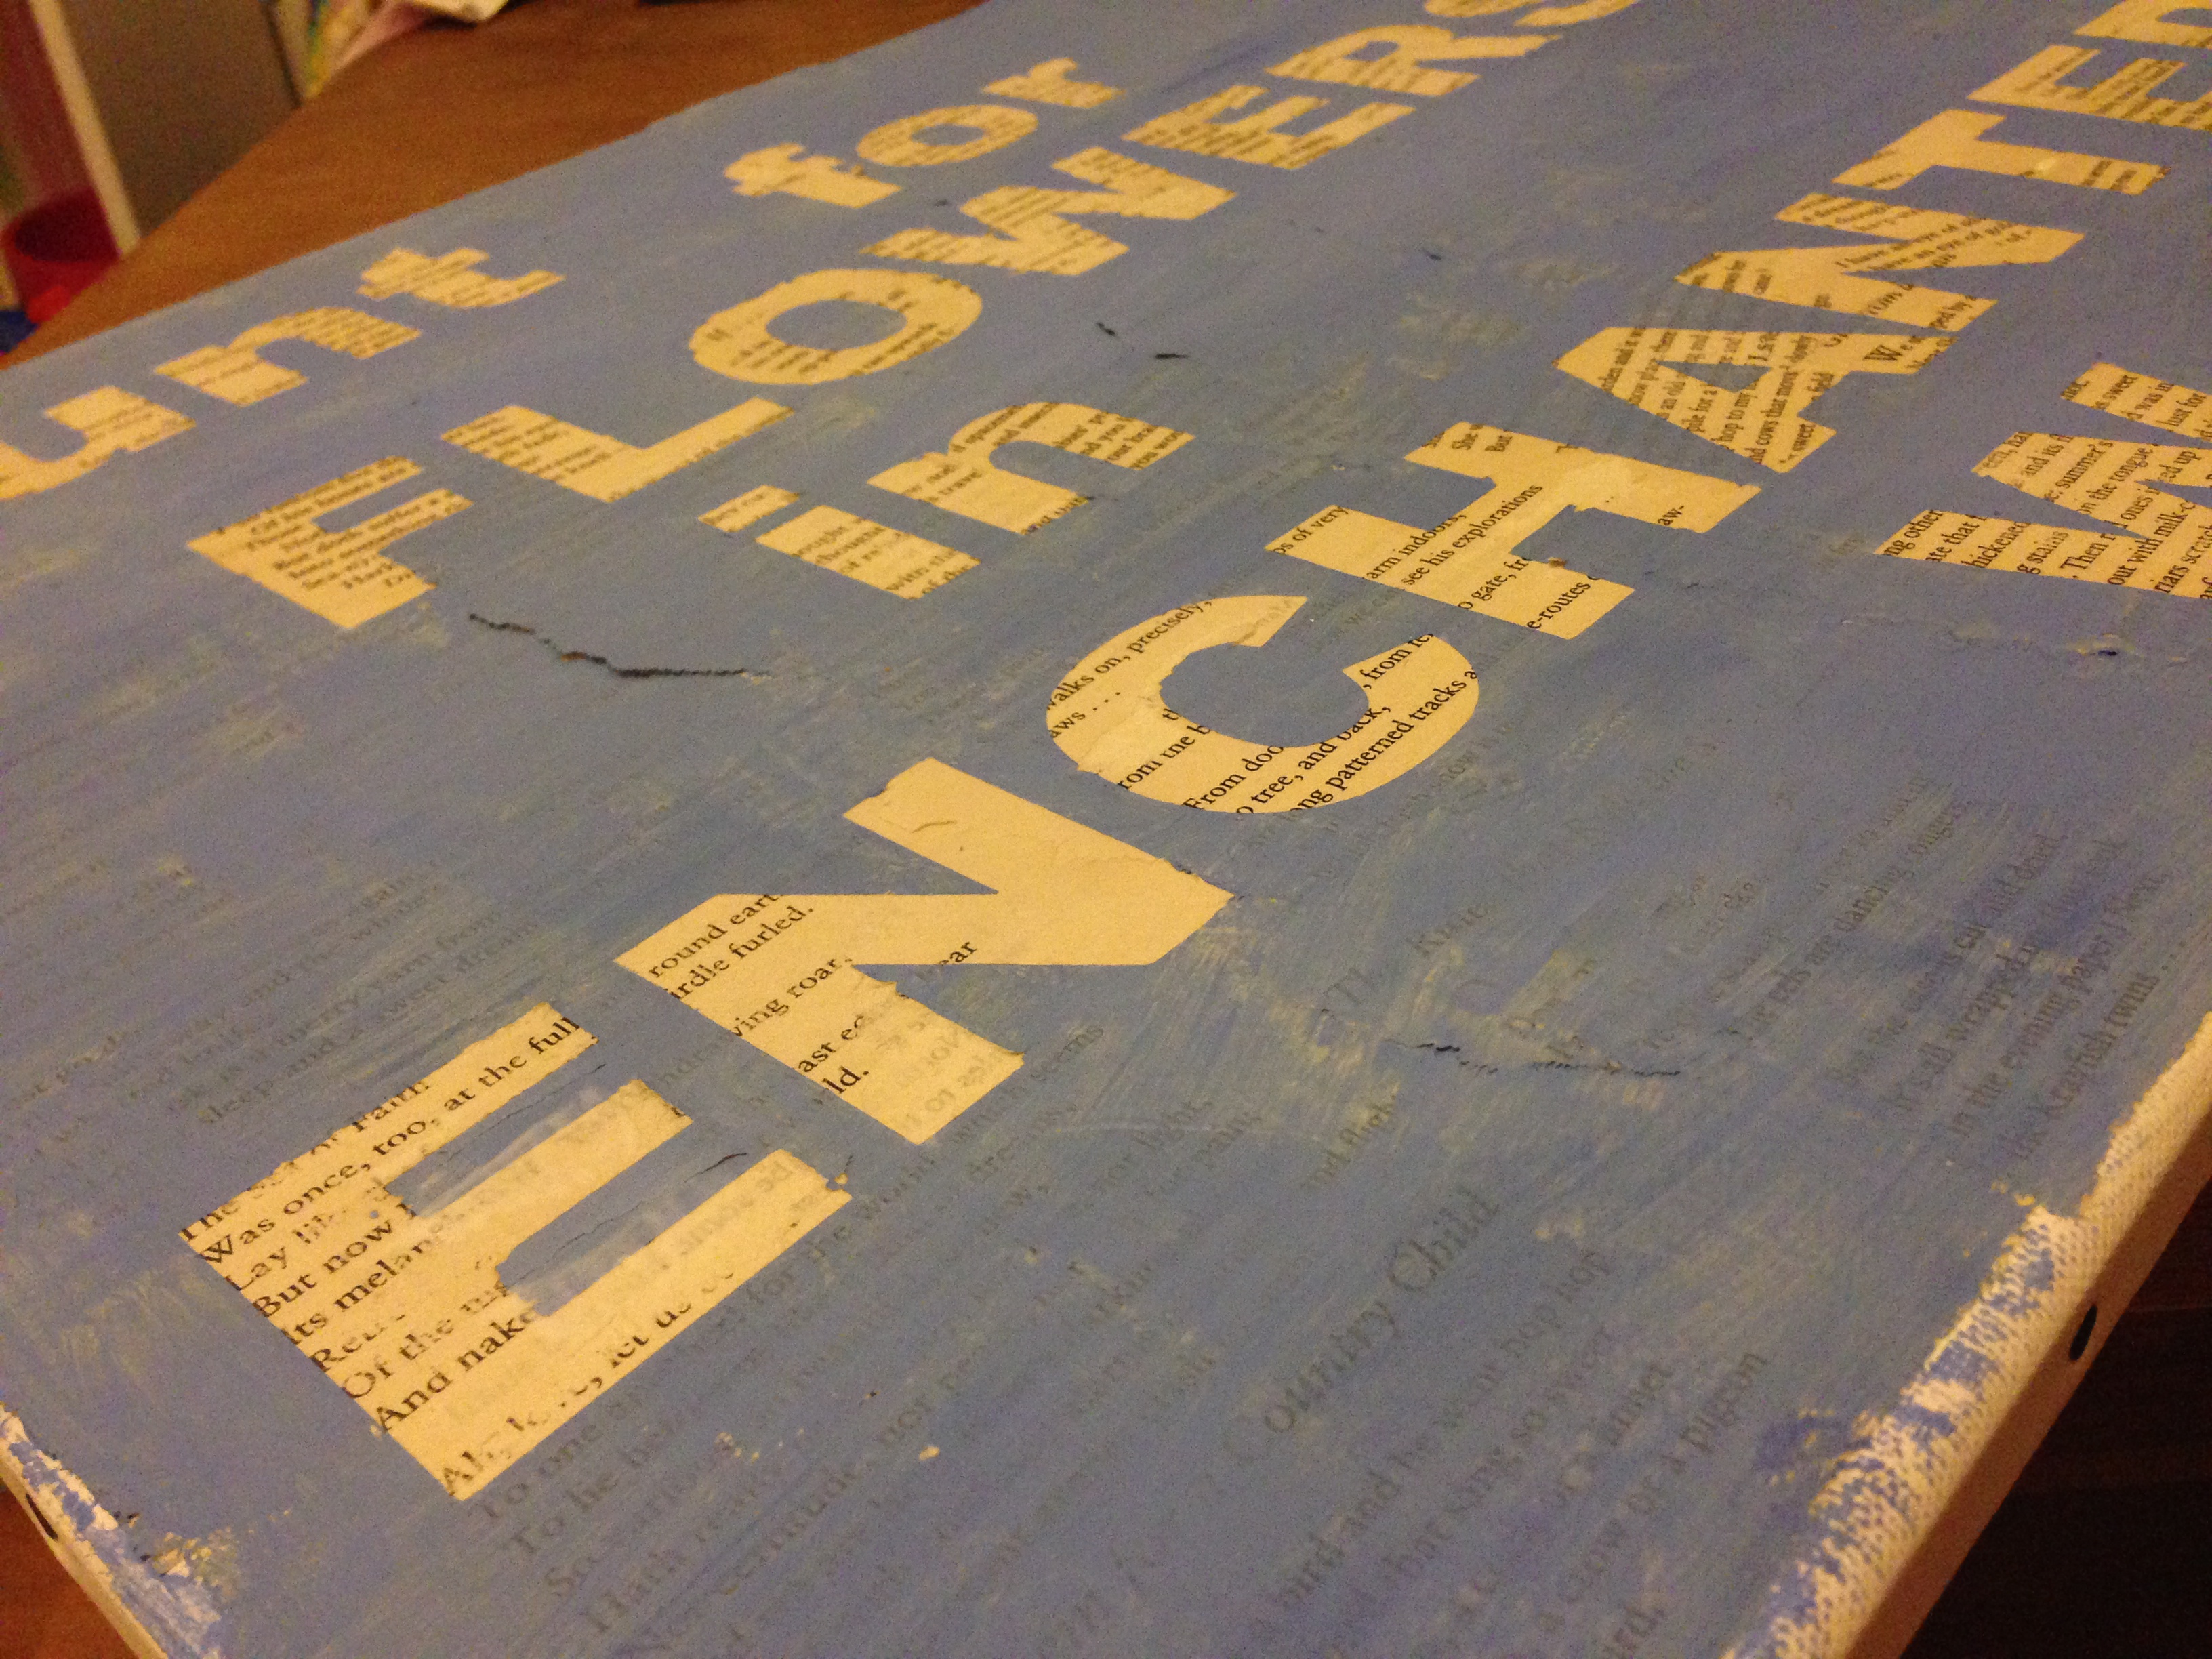
Once the paint was completely dry it was time to remove the lettering. Do this carefully! I rushed the E and ended up doing a bit of a repair job – not that you could see that on the finished project but if I’d have been more careful in the first place, no repairs would have been necessary. Once the lettering was removed, I painted a good layer of modge podge over the top and left it to dry. In this picture you can see the details from the poems underneath, it’s exactly what I wanted.
Then I was done and was left with this as the finished product!
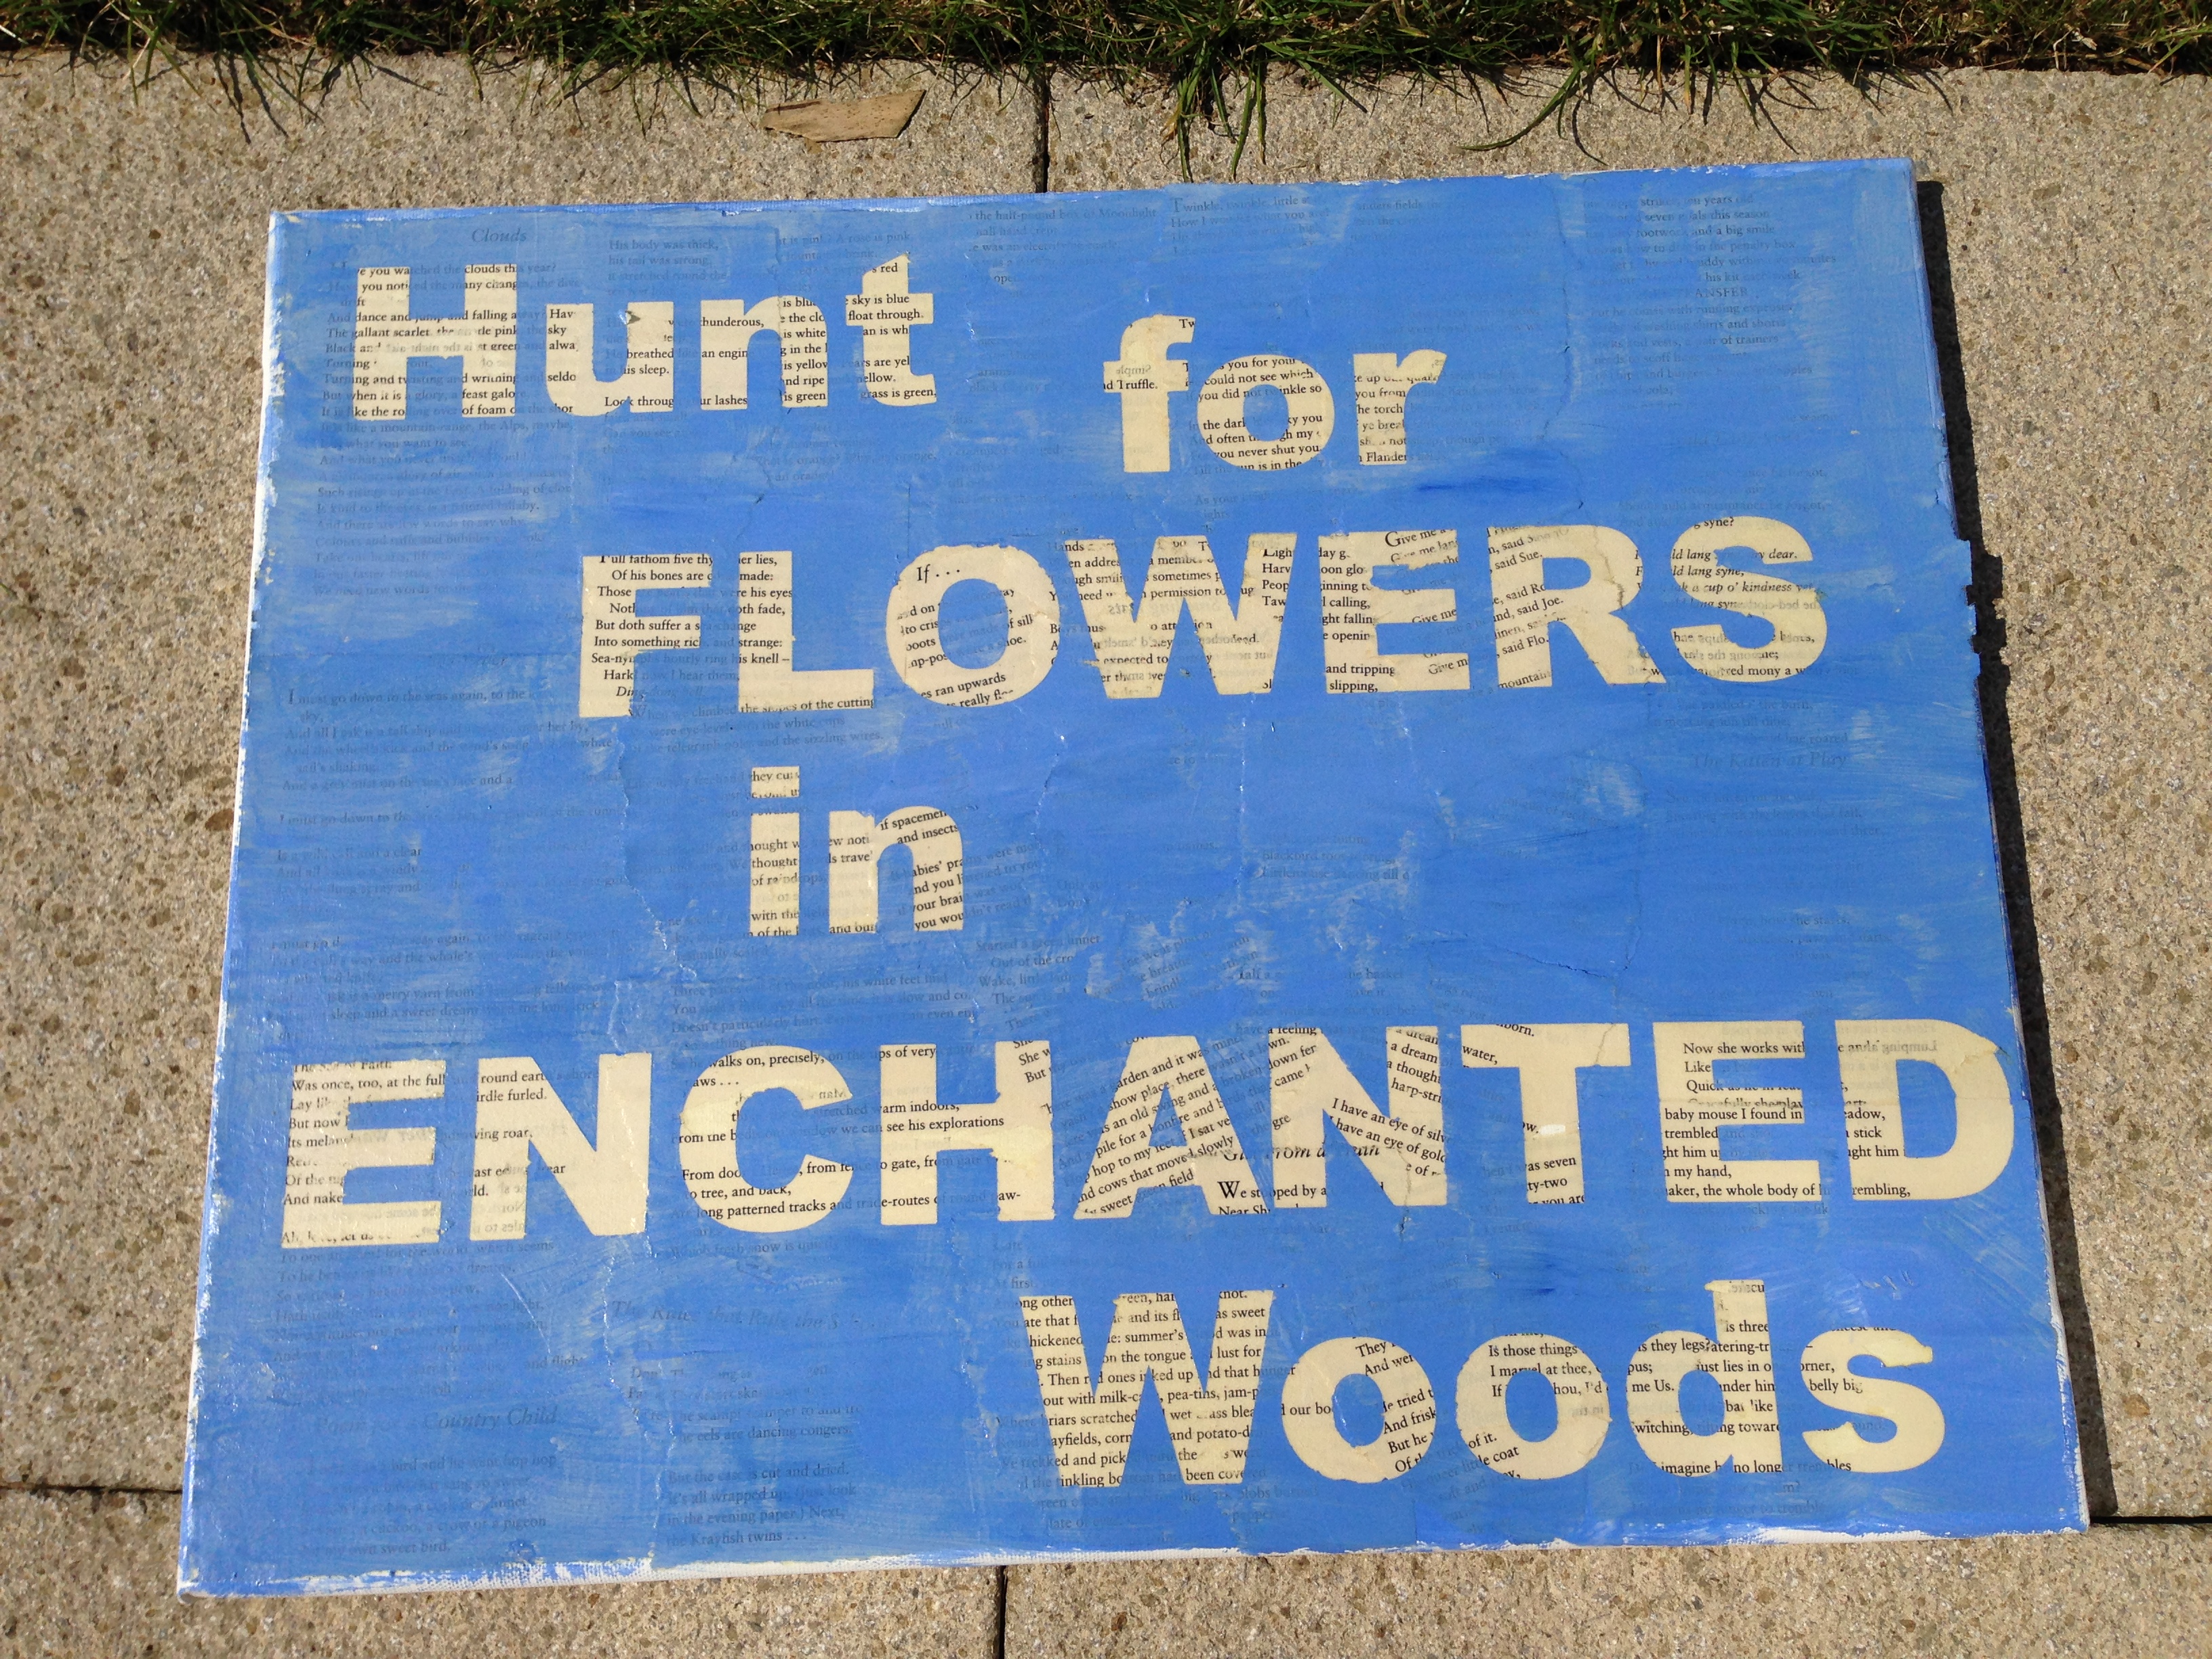
I’ll be honest, I was pretty impressed with how it turned out and pretty chuffed I’d managed to pull off something crafty without sticking my fingers together or binning it! The whole thing was complete in an afternoon, in-between entertaining the munchkin, seeing to the froglet and including drying time. I will definitely be doing a variation of this again, the words can be personalised which makes it really special if you wanted to make one as a gift.
This looks fantastic, Becky! I’m pretty unsuccessful at DIY, but I could give this a shot 🙂
You really could do it! I don’t do crafts well at all but this turned out really well 🙂